Role
UI/UX
Client
Confidential
Timeline
2025
D’ Cache Tags
Scroll Down
01 / Concept
Strategy & Execution
PHASE 1: Setting up the Die-Line (El Troquel)
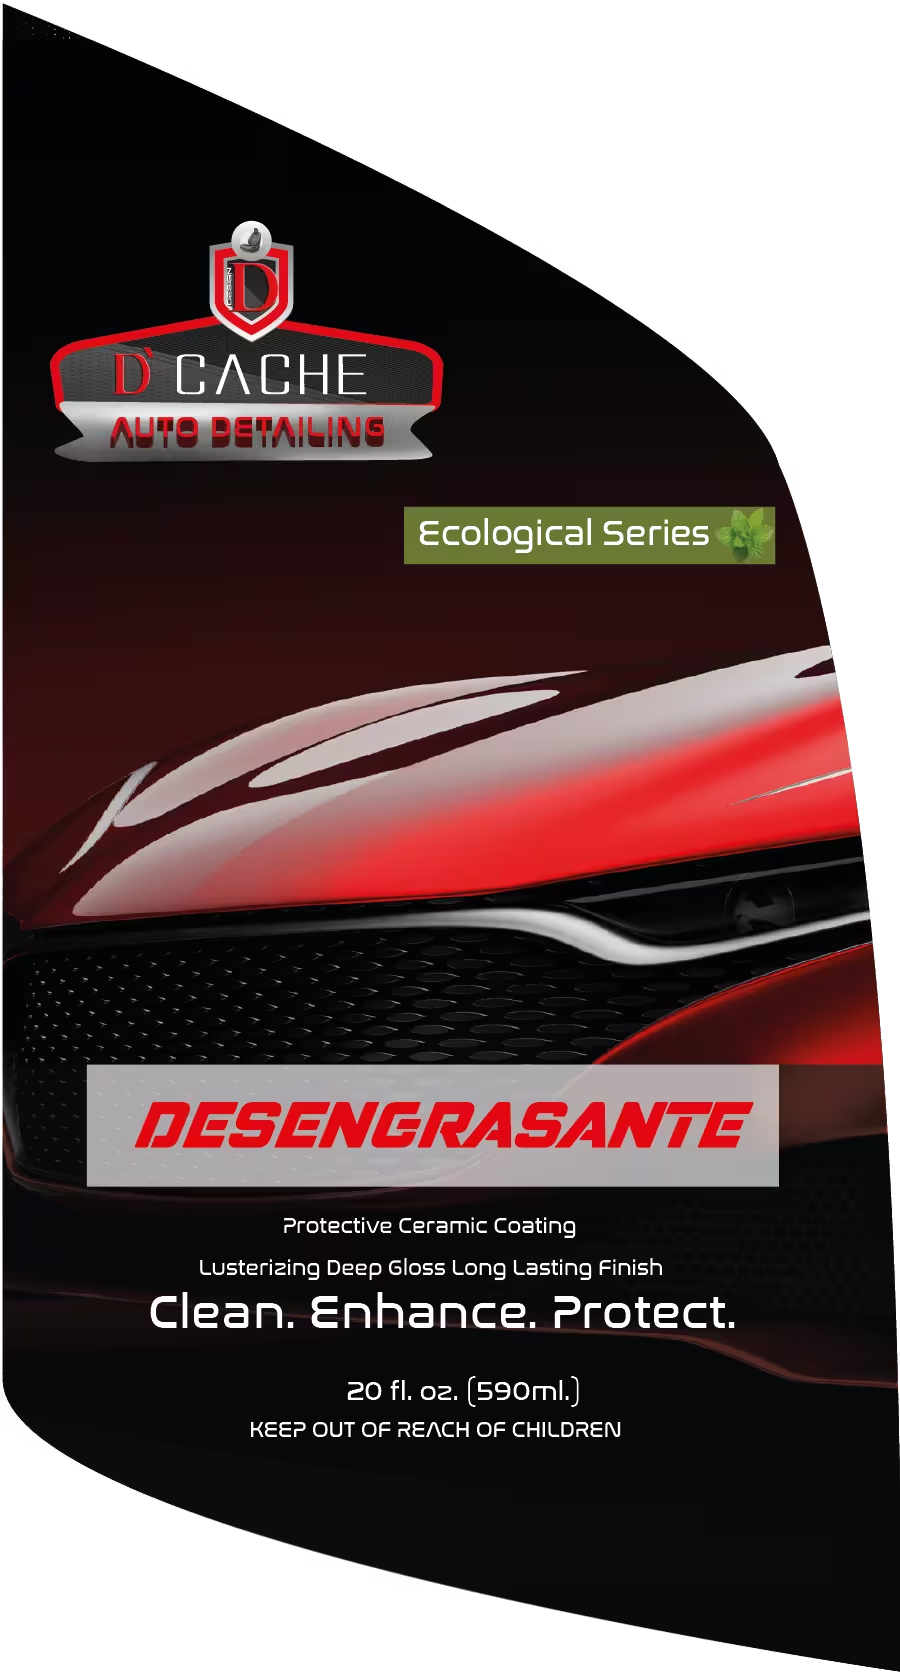
These aren’t standard rectangular stickers; they have a custom cut. If you send a flat rectangle to the printer, they won’t know where to trim.
- The Dieline Layer: First thing you do is create a brand new layer at the very top of your stack and name it “Dieline” or “Cut Contour”.
- Drawing the Cut: Using the Pen Tool, you trace out that specific curved shape. You give this path a bright, obnoxious spot color stroke (usually 100% Magenta) and set it to Overprint. This tells the printing press, “Hey, this is the blade path, do not print this pink line.”
- The Bleed: You make sure your document is set up with a Bleed (usually 3mm or 0.125 inches). Your background images need to stretch past the magenta cut line into the bleed area. This guarantees that if the cutting machine shifts by a millimeter, you don’t end up with an ugly white sliver on the edge of your label.
PHASE 2: Imagery & Layout
The backgrounds on these are doing a lot of the heavy lifting to sell the product.
- Placing the Photos: You go to
File > Placeand drop in those high-res car shots. Since you are designing for print, you must ensure these images are at least 300 DPI and converted to CMYK color mode (either in Photoshop first or via Illustrator). - Clipping Masks: To keep your artboard clean while you work, you duplicate your main Dieline shape, bring it to the front, select both the car photo and the shape, and hit
Ctrl/Cmd + 7to create a Clipping Mask. This hides all the messy photo edges outside the label area.
PHASE 3: Branding & Badges
Now you build the hierarchy of information over the images.
- The Logo: You drop the “D’ Cache” logo at the top center. It looks like it has a subtle Drop Shadow (
Effect > Stylize > Drop Shadow) to help the red and silver separate from the dark car hoods. - The Ecological Badge: You draw a simple rectangle with the Rectangle Tool, fill it with a green gradient, and drop your text and leaf vector inside.
- The Middle Divider: To make the product names readable, you create a semi-transparent gray or silver bar across the middle. You can do this by drawing a rectangle and simply lowering the Opacity in the Appearance panel, or giving it a gradient that fades into the background.
PHASE 4: Typography & Special Effects
This is where the labels get their specific identities. You set up a template, and then just swap these elements for each product.
- The Product Names: You used a heavy, italicized, tech-style font to give it speed and impact.
- For “TIRE SHINE” and “GRAFITO”: You use the Gradient Panel to build custom metallic or bold color fills. For the gold, it’s a mix of dark browns, yellows, and white highlights to make it look reflective.
- For “LIMPIA VIDRIOS”: This is a great trick. It looks like there is a texture inside the letters. To do this in Illustrator, you type your text, place a cool glass/liquid texture image behind the text, select both, and make another Clipping Mask. The text becomes the window to the image underneath.
- The Copy & Instructions: For the bullet points (“Streak-Free Shine”, etc.) and the volume/warnings at the bottom, you use a clean, wide Sans-Serif font in pure white. You use the Paragraph Panel to center-align everything and tweak the Leading (space between lines) so it looks tight and organized.
PHASE 5: Prepping for the Print Shop
When you are sending labels to a commercial printer, the export process has zero room for error.
- Color Check: Double-check
File > Document Color Modeis set to CMYK. - Outline Fonts: You select all your typography and go to
Type > Create Outlines(Shift + Ctrl/Cmd + O). This turns all the text into vector shapes so the printer doesn’t get missing font errors when they open the file. - Exporting: Finally, you save a high-quality Print PDF, making sure your Dieline layer is turned on and your Bleed settings are checked in the export dialog box.
02 / Visuals


Next Project →Keep Exploring →Next Project →Keep Exploring →Next Project →Keep Exploring →Next Project →